
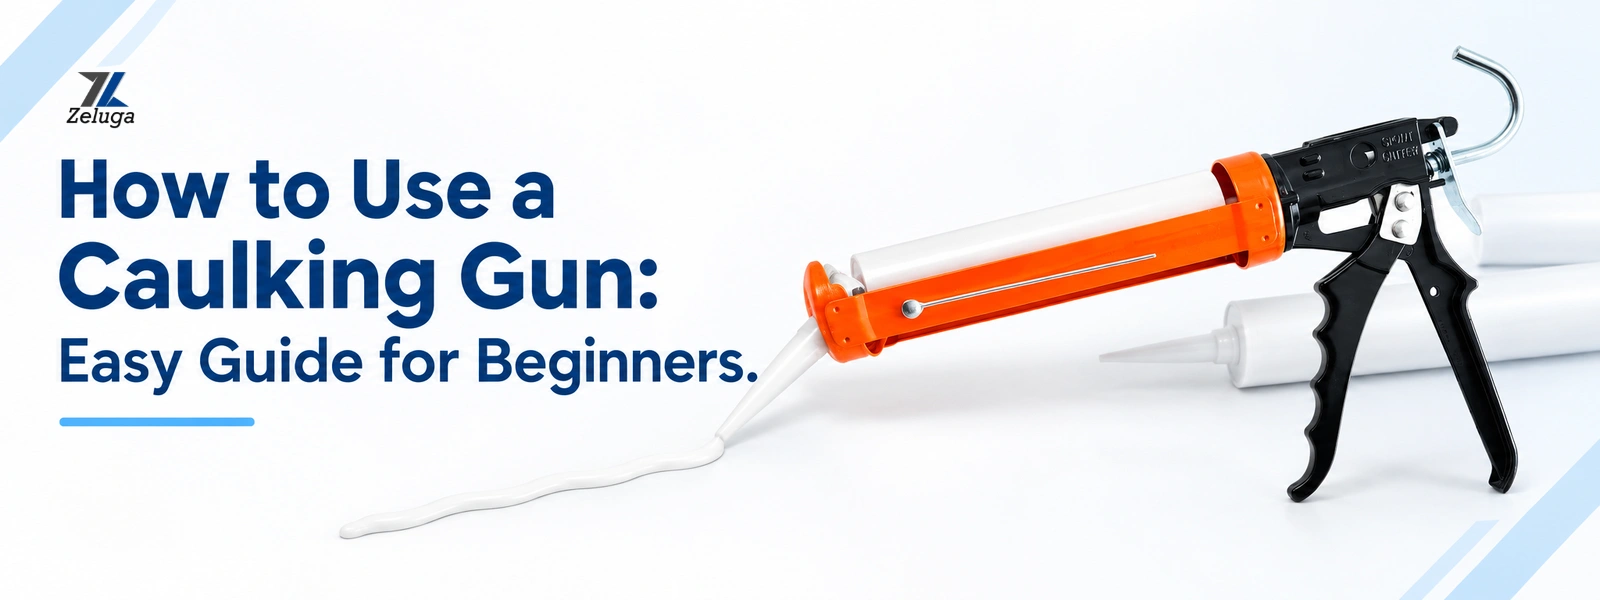
Proper use of a caulking gun is not about the pressure applied on the trigger but rather about managing the flow of materials. The cartridge type, size of the nozzle, trigger pressure, application rate, and timing of releasing the material will all impact the final appearance of the bead. This blog is a guide through the whole process.
What Is a Caulking Gun?
A caulking gun is a manually operated device that dispenses materials in a bead-like manner from a cartridge. When the trigger is pressed, it moves a rod and plunger to exert pressure on the cartridge. This tool is used for the purpose of dispensing materials, rather than exerting pressure.
How Does a Caulking Gun Work?
As soon as the trigger is squeezed, the dispenser moves the push rod forward. The plunger exerts pressure on the cartridge, which moves the sealant towards the nozzle. Releasing the trigger will allow control of the process.
What Can You Use a Caulking Gun For?
Caulking guns can be used for sealing gaps, filling appropriate spaces, trimming, window and door maintenance, and using sealers, adhesives, and mastics in construction and renovation works.
How to Cut the Caulk Nozzle the Right Way
Preparation of the nozzle impacts the size and control of the bead. Prepare the opening depending on your joint and material requirements. Removing more than necessary results in a high flow rate that might be challenging to control during application.
Cut the Nozzle at an Angle
One way to prepare the nozzle is by trimming at about 45 degrees. The angled opening helps to place the bead within the joint while ensuring continuous contact during the movement.
Choose the Right Nozzle Opening
A small opening creates a thin bead while a large opening ensures high material flow. Begin conservatively where possible since removing extra nozzle material is easy, but not vice versa.
Puncture the Cartridge Seal
Most cartridges have a seal that needs to be punctured before dispensing materials. It should be punctured using the puncturing tool of the gun or using the cartridge manufacturer’s recommended process.
How to Use a Caulking Gun?
After loading the cartridge, the process of dispensing requires coordination of trigger pressure, nozzle alignment, and speed. More important than force here is consistency; the goal is a bead that conforms to the joint without excessive material.
Step 1: Test the Gun First
Try out the gun on waste material prior to applying the sealant. It will help you find how much pressure should be applied to get a desired flow and whether the size of the nozzle is right.
Step 2: Maintain Consistent Nozzle Angle
Always keep the nozzle aligned to the joint while you move along it. A 45-degree working angle is usually used for this purpose.
Step 3: Control Trigger Pressure
The trigger pressure influences the rate at which the material will be extruded out of the nozzle. Too much pressure can cause a large bead and wastage of material.
Step 4: Maintain Consistent Speed
Consistency in the speed of the movement should match the material flow. Fast movement leads to insufficient bead formation, while slow movement will lead to deposition of excess material. The pressure and speed need to be adjusted simultaneously.
Step 5: Use Both Hands When Needed
For longer joints or more controlled work, use one hand to operate the trigger and the other to guide the barrel. This can improve stability, particularly when maintaining a consistent application angle.
How to Create a Clean Caulk Bead?
It all depends on the preparation and control during the process of applying. Proper pressure, proper nozzle size, consistency in movement, and proper positioning help prevent any uneven parts of the bead. Apply the material based on the specific properties and requirements for tooling.
Make the Bead Consistent
Try to keep consistent material flow rather than make corrections after it. Consistency in trigger pressure, speed of the movements, nozzle position, and contact with the joint is needed.
Tool the Sealant
Tooling can help to enhance the profile and finish of the compatible sealant right after applying it. Perform it with an appropriate method of tooling within the specific working period of the material.
Careful Removal of Painter’s Tape
When masking is used, remove the tape according to the sealant’s working requirements. Pulling it at a controlled angle can help preserve the edge without disturbing freshly applied material.
How to Prevent Leakage in a Caulking Gun?
Since leaking is usually associated with pressure that persists inside the cartridge and dispensing channel, it is good to know how to disengage the dispensing process in order to minimize leakage, especially when applying sealants in small quantities.
Why Does a Caulking Gun Leak?
Since sealant continues moving even after the trigger pressure is released, it means that the pressure has been transmitted to the cartridge. Such factors as viscosity of the sealant, pressure inside the cartridge, nozzle size, and gun design could affect continued dispensing.
Release the Pressure After Each Application
Release the pressure in your gun when you want to stop the operation if such a function is available. It will help you minimize further dispensing of sealant through the nozzle.
Anti-Drip Caulking Guns vs. Standard Guns
Anti-drip designs are intended to reduce continued dispensing after trigger pressure is released. They can be useful when clean stopping matters, but suitability still depends on material, application, and the gun’s specific mechanism.
Smooth Rod vs. Ratchet Rod Caulking Guns
Rod mechanism affects how the caulking gun dispenses material and feels during operation. The choice should depend on the required control, material resistance, application needs, and the user’s preferred working method.
| Consideration | Smooth Rod | Ratchet Rod |
| Rod movement | Smooth, continuous movement | Stepped, ratcheting movement |
| Operating feel | More responsive trigger control | More incremental dispensing |
| Flow control | Controlled through trigger pressure and release | Controlled through trigger strokes and pressure |
| Best suited to | Users who prefer smooth operation and responsive control | Users who prefer traditional ratcheting action |
| Selection priority | Handling and dispensing control | Mechanical engagement and application preference |
What Is the Thrust Ratio of a Caulking Gun?
The thrust ratio can be considered as a relationship between the amount of force exerted by the trigger and the force exerted by the dispensing rod. Thus, the thrust ratio helps explain the reasons why certain guns may differ in dispensing materials with different resistance/viscosity.
18:1 Thrust Ratio
A thrust ratio of 18:1 can be considered as a ratio of mechanical forces. In simple words, this ratio means that there is stronger mechanical assistance compared to low-ratio ones, although the performance largely depends on the construction and material resistance.
Importance of the Thrust Ratio
Thrust ratio becomes especially important when dispensing materials that require some effort from a worker. Therefore, the choice of the right ratio depends on the material, its viscosity, conditions of use, and other factors rather than using the maximum ratio.
Is the Higher Ratio Always Good?
Not necessarily. Higher ratios are not always good for every use because excessive mechanical assistance may influence sensitivity and material flow control.
Common Mistakes To Avoid While Using a Caulking Gun
Cutting the Nozzle Too Large
Making the opening too large is going to cause increased flow of the material. When a small opening is needed to achieve a small bead, cutting the opening too large will be a problem. Make sure that you start small and expand the opening only when necessary.
Applying Too Much Trigger Pressure
Too much trigger pressure causes increased flow of material beyond what can be applied by the movement rate. You just have to apply enough pressure to make sure that you can get a continuous bead.
Moving Too Fast
When moving too fast, gaps may result or you may end up with an underfilled joint or bead. Make sure that you move at the right speed so that you will be able to fill the joints.
Moving Too Slowly
When you move too slowly, too much material may come out of the nozzle. You should increase the rate of movement if there is build-up of material.
Forgetting to Release Pressure
Failing to release dispensing pressure may lead to further discharge of the material. This has to be done right away.
Skipping Surface Preparation
Sealants applied on dirt, loose surfaces, or inappropriate sealant may affect the outcome. The joint should be cleaned as per the instructions provided by the sealant manufacturer.
Using the Wrong Sealant
The use of a caulking gun will not rectify inappropriate selection of the sealant material. It is important to ensure that the chosen sealant material is suitable for the surface.
Caulking Guns for Different Applications
10 oz. Smooth Hex Rod Cradle Caulking Gun
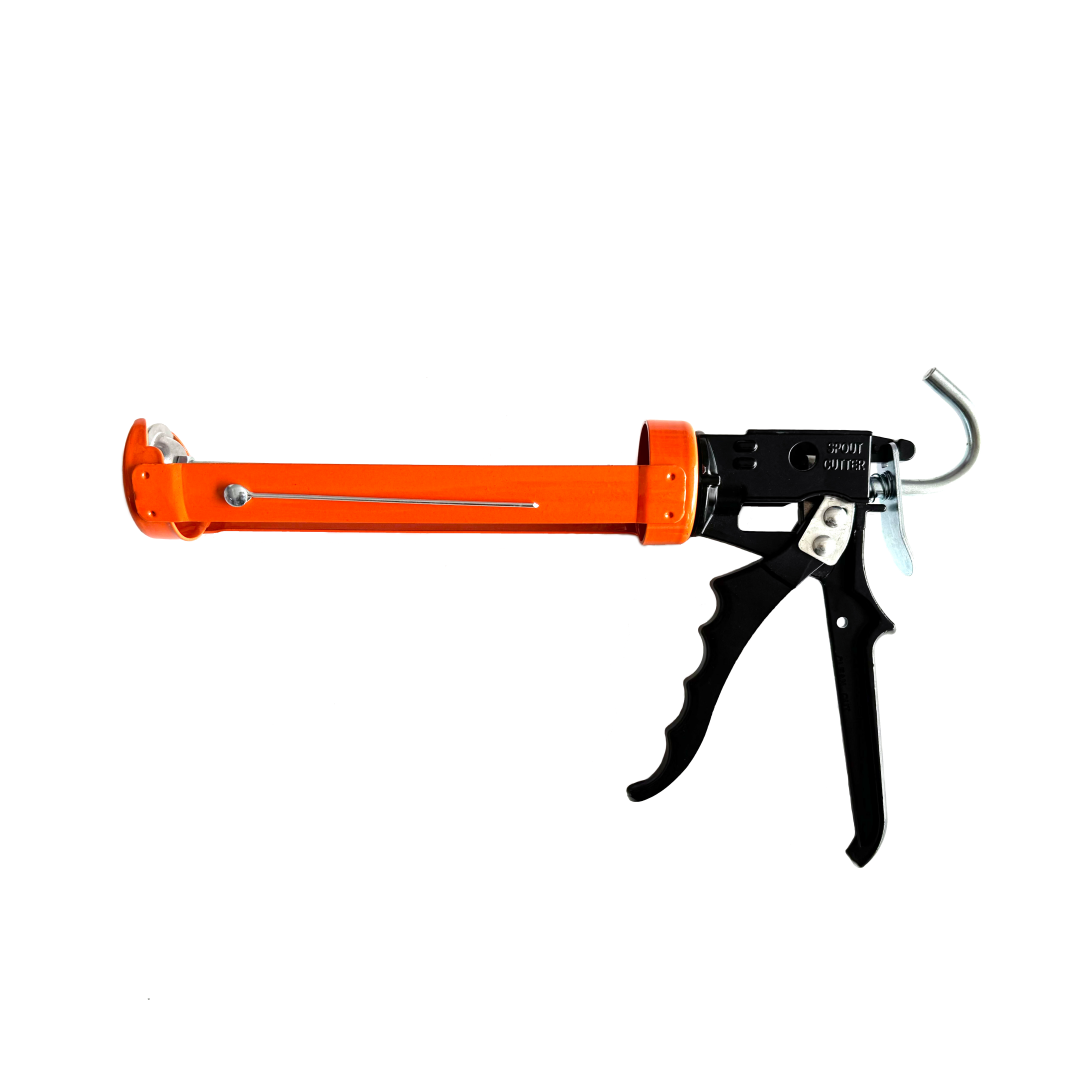
The 10 oz. Smooth Hex Rod Cradle Caulking Gun comprises the smooth hex rod, cradle system, and spout cutter. This caulking gun is used by people who require a simple cartridge dispensing with the help of a smooth rod.
Its specifications make it significant where smooth-rod function and simple cartridge dispensing are needed. It needs to be paired with a compatible 10 oz cartridge and material to use.
Anti-Drip Heavy Duty Cartridge Caulking Gun
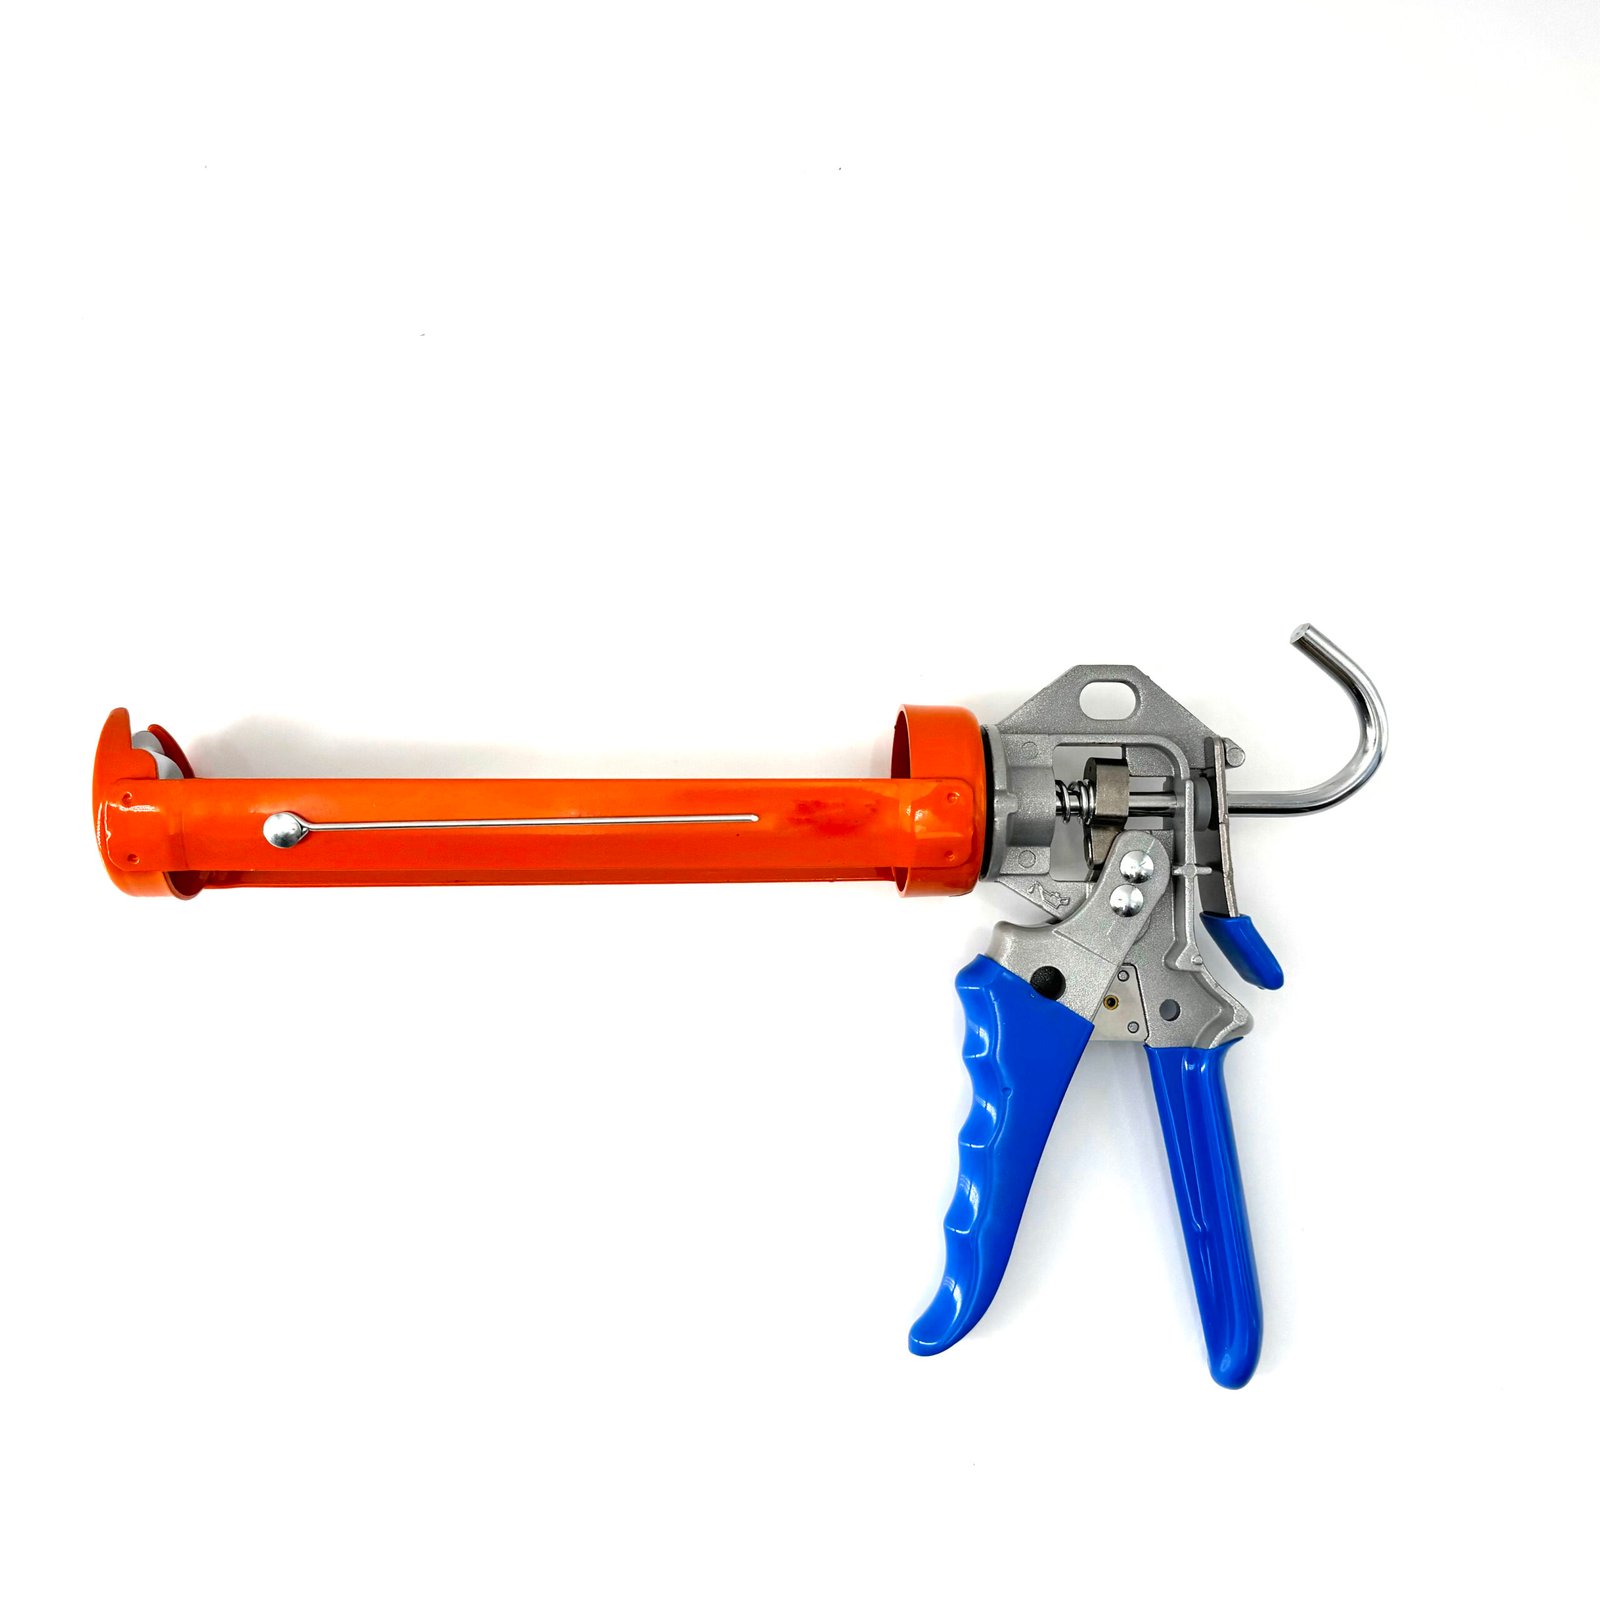
The Anti-Drip Heavy Duty Cartridge Caulking Gun uses 10 oz or 310 ml cartridges and incorporates an anti-drip function, comfort grip, aluminum alloy handle, spout cutter, and 18:1 thrust ratio.
18:1 ratio is useful where dispensing needs some mechanical advantage. The anti-drip feature helps overcome material flow even after stopping the pressure to dispense the material.
Conclusion
The use of a caulk gun is all about being prepared, applying controlled pressure, moving steadily, and having the right tools. With these elements understood, better beads will be created, and material wastage will be minimized. When purchasing in bulk, ensure compatibility with application needs.
Get in touch with us for bulk purchasing and wholesale requirements.
Frequently Asked Questions
How do you use a caulking gun for the first time?
Load a suitable cartridge, ready the nozzle, puncture the inner seal, activate the plunger, and ensure dispensation is working. Maintain even pressure on the trigger during smooth movement along the joint.
How do you load a caulking gun?
Push out and retract the plunger, align the cartridge with the nozzle end forward, and lock the plunger to the cartridge. Different types of caulking guns have varying release mechanisms.
How do you stop a caulking gun from dripping?
Release the dispensing pressure quickly by using the release button, if any, in your caulking gun. It is advised not to keep the trigger pressure engaged when repositioning the tool.
Do all caulking guns work with the same cartridges?
Not necessarily. Different sizes, shapes, capacities, and dispensing systems exist among different cartridge systems. It is always good practice to check the cartridge capacity and size compatible with your caulking gun.
Can a caulking gun be used for silicone and sealant?
Yes, most cartridge dispensers can dispense the required sealants such as silicone and others. However, this is based on the capacity of the cartridge and dispensing.