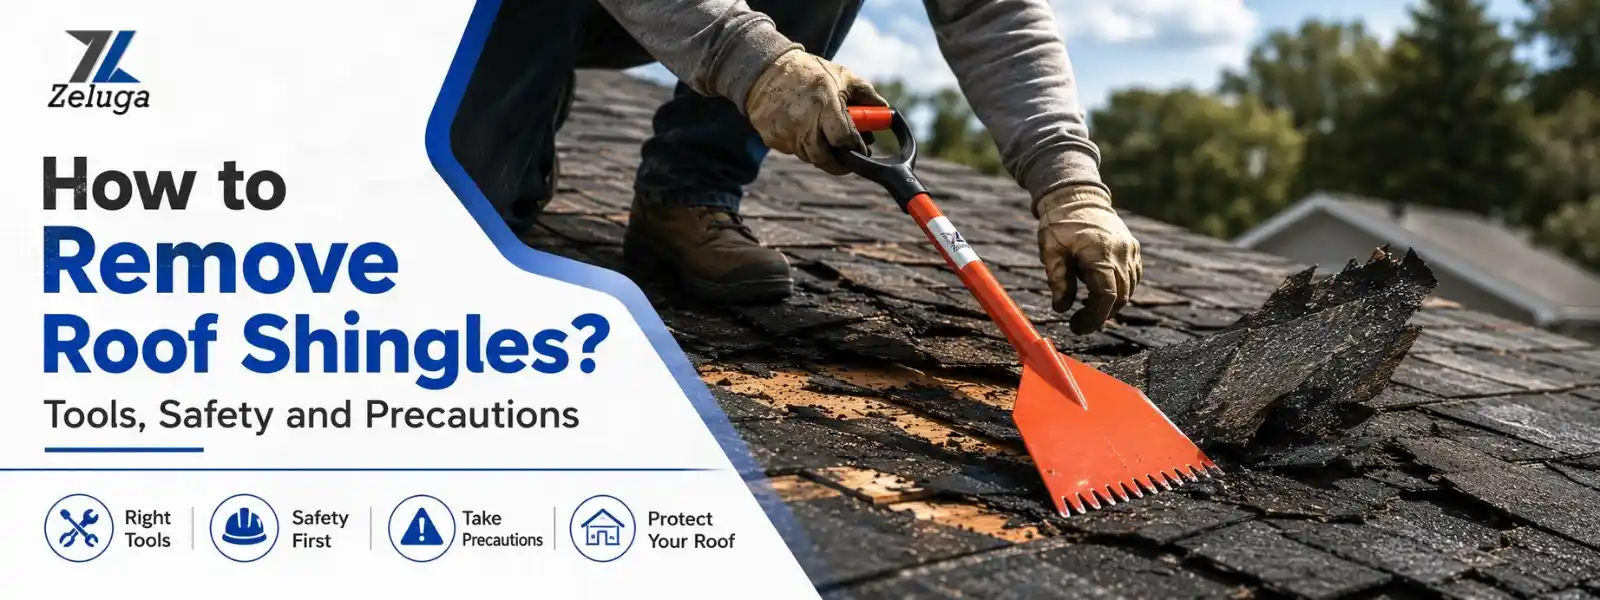
Removal of roof shingles is not just about ripping up old roofing material. Professional roofers always have an organized procedure that helps protect the roof deck, improves installation, promotes safety on the job site, and provides the right conditions for installing the new roofing system.
In this blog, learn how roof shingles are removed by professionals and what is the proper way of inspecting the roof, the roofing tools needed, and safety precautions.
When the Roof Shingles Removal is Required?
Roof shingle removal is usually required when:
- The roof has reached the end of its lifespan.
- Old shingles suffer from damage caused by storms or hail.
- Water got under the roof.
- Several layers of shingles already exist.
- Roofing manufacturers require removal of all shingles according to their warranty requirements.
- The roof deck requires inspection or repairs.
- Flashing systems should be replaced at the stage of reroofing.
- Another layer of roofing is not allowed by local building codes.
- There are some uneven spots on the roofing surface that can negatively affect new shingles installation.
How Professionals Inspect Roof Before Shingles Removal
Roof Condition Evaluation
It is important for professionals to check visible roof problems, missing shingles, uneven surfaces, moisture stains, sagging areas and roof ventilation effectiveness. Evaluating the roof condition will help decide if the solution to be applied can be achieved through repairs or removing all roof shingles.
Pitch and Accessibility of the Roof
The pitch of the roof determines the safety of workers, tools used for the work, handling of debris and materials. The steeper the roof is, the more fall protection equipment, roof brackets, safety harnesses and special planning are needed for efficient shingles removal.
Weak Roof Deck Identification
Sponge-like roof decks, wet areas and structural movement show weak sheathing underneath the roof shingles. It is necessary for professionals to identify weak areas to avoid damaging the deck while removing the shingles.
Flashing, Valleys and Roof Penetration Inspection
Professionals evaluate chimneys, skylights, plumbing vents, roof valleys, walls intersections and metal flashings. All these areas are subject to frequent moisture presence and usually need to be fixed during roofing job.
Material Removal Planning
Roofing professionals plan for removal of debris before starting the job. Planning where to place dumpsters, how to transport materials, recycling and other factors help to increase efficiency and create a safer working environment.
What Professional Tools are Needed for Roof Shingles Removal?
Professional roof tear-off is based on specialized roofing tools that help to remove shingles quickly, safely and without straining.
1. Roof Shingle Remover and Ripper
This tool was developed specifically for sliding under the shingles, lifting up roofing nails and detaching roofing materials through the leverage effect. It will help you remove shingles faster and more easily than with other tools and it is less likely that the deck will get damaged.
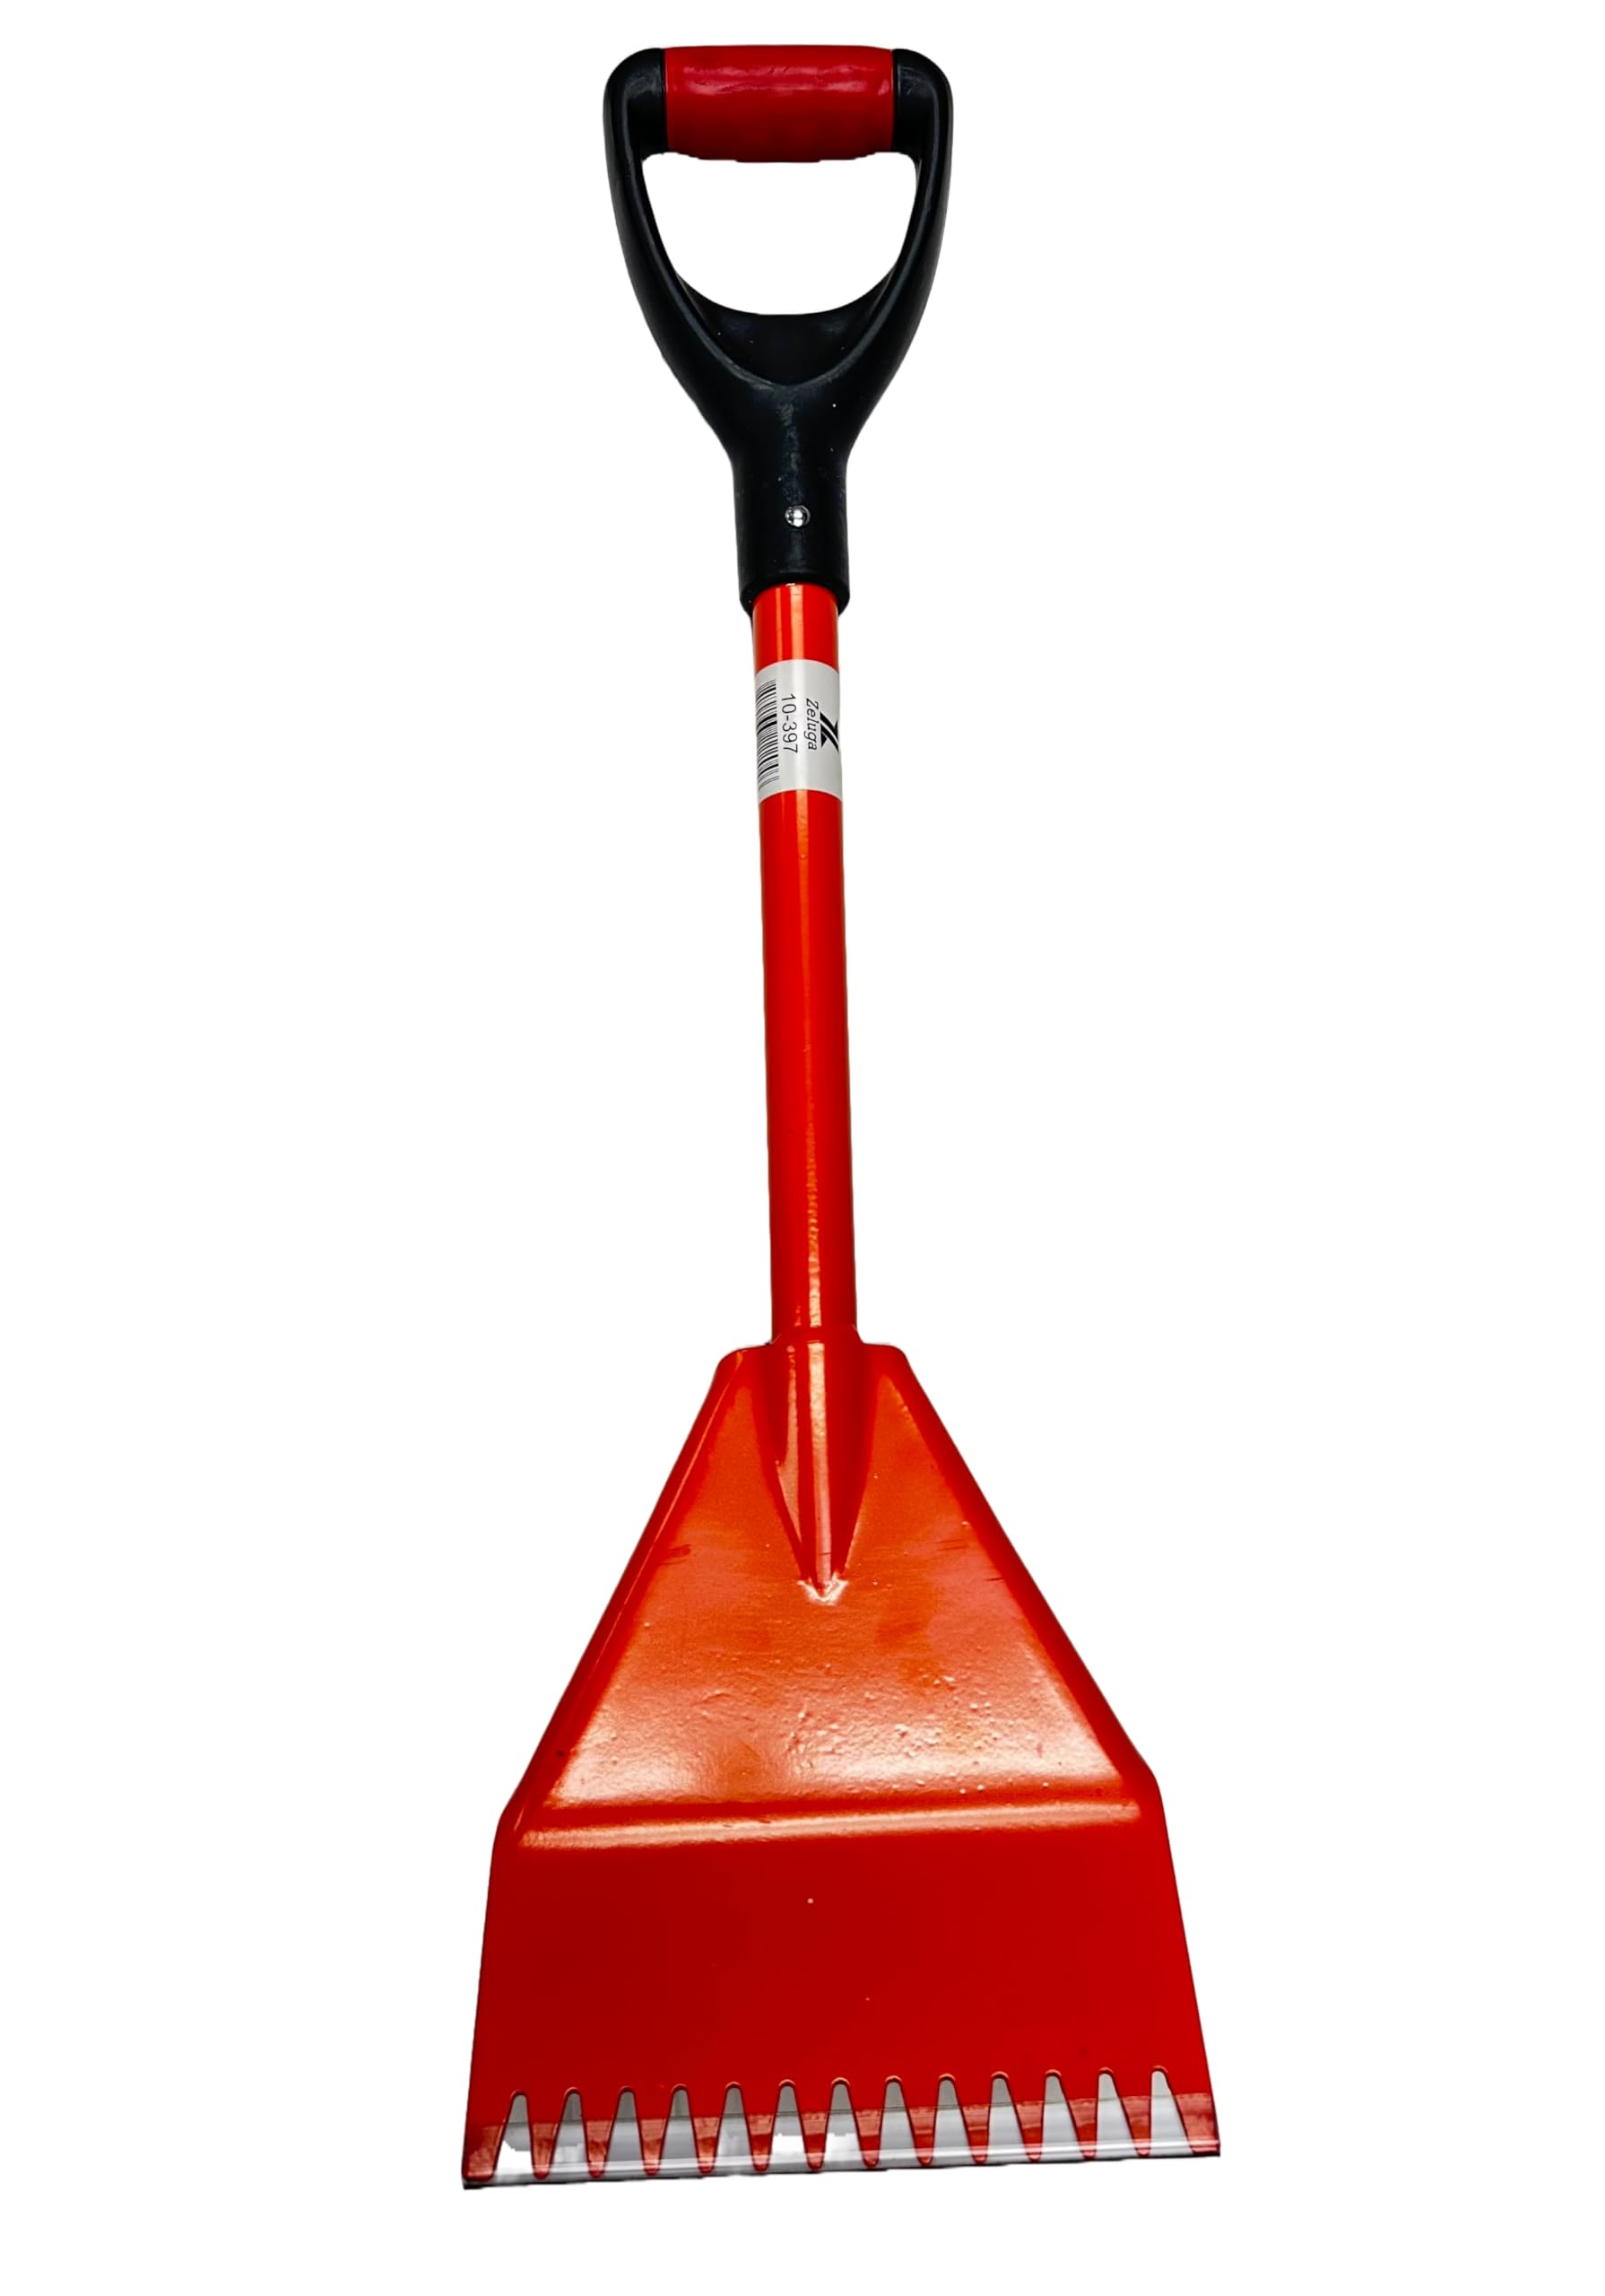
Zeluga 28in. D-Grip Handle Shingle Remover and Ripper is a good example of professional roofing tool that will help to perform fast and safe tear-offs. This tool is equipped with reinforced long handle and ergonomic D-grip for additional leverage.
2. Roofing Pry Bars
There are also roofing pry bars which will help to remove hard-to-lift nails, flashing pieces, starter strips, and other roofing accessories. Usually contractors have several pry bars for various applications on roofs.
3. Roofing Hammers
Professional roofing hammers are used for finishing nail removal, flashing adjustments, fixing temporary materials, and preparing the roof to install the new one.
4. Utility Knives
A sharp set of utility knives allows contractors to cut roofing felts, synthetic underlayments, ice and water barriers, sealants, and roofing membranes in an effective way without damaging the neighboring material or slowing down installation.
5. Magnetic Nail Sweepers
Scattered roofing nails pose major safety threats after roof tear-off jobs. Magnetic sweepers are useful in helping crew members swiftly clean out hidden nails from driveways, lawns, walkways, and nearby working spaces.
6. Extension Ladders
Industrial-quality extension ladders provide stable access up the roof and help workers move from one point to another easily. Proper placement of ladders is always important when it comes to keeping the area safe during the job.
7. Roofing Shovels
Roofing shovels are typically used during roof tear-off processes since their uniquely designed blades lift both shingles and roofing nails at once.
8. Safety Harness Systems
Professional safety gear should always be worn by professionals working on roofs. Full body harnesses, anchoring systems, and other fall protection equipment minimize the chances of falling while working on slopes.
Personal Protective Equipment (PPE) for Roofing Professionals
The use of adequate PPE is the key element of professional roof shingle removal. All roofing contractors have to check personal protective equipment prior to starting the work in order to minimize the risk of injuries and follow safety requirements.
Fall Protection Systems
All professional roof shingle tear-off projects need to have approved fall arrest system, anchor point, lifeline, and full body harness. Fall arrest system helps protect roofers on steep roof surfaces while walking or performing roof shingle removal.
Safety Hard Hats
Roofers’ helmets help protect workers from falling tools, materials, etc., and accidental impacts while working on ladder, scaffolding, or on elevated areas of roofs. Helmets should fit well and be checked for cracks and other defects.
Eyes Protection
Roofing nail removal, cutting of underlayment and roof shingles generate flying particles that can affect roofers’ eyesight. Eye protection glasses will help roofers protect their eyes while removing roof shingles, cutting underlayment, and roof flashing.
Gloves
Professional roofing gloves help provide better grip while handling roof tools and protect roofers’ hands from cuts by flashing edges, exposed roofing nails, utility knives, and rough shingles.
Roofing Boots
Slip-resistant boots for roofing improve traction on shingles and plywood roofing structures as well as slippery slopes. Good footwear will help prevent slips when transporting roofing material and garbage.
High-Visible Clothing
High-visibility clothing helps make roofing teams more easily identifiable at a job site. It is important for good communication with the ground crew, equipment operators, drivers, and people disposing of roofing material.
How to Remove Roof Shingles Professionally: 8 Easy Steps
Contractors adopt a planned order during their removal process instead of randomly stripping the shingles. It is done to protect the roof deck, control the debris, and ensure that they are walking safely on the roof.
Step 1: Start With the Ridge Cap Shingles
In most cases, the process of tearing off the roof begins with the removal of the ridge cap shingles. It is important as it helps to develop a systematic pattern of removal while exposing the other roofing components.
Step 2: Begin From the Top of the Roof
Remove shingles from the highest part of the roof. This helps the roof debris to flow naturally towards the bottom of the roof while improving efficiency of the task.
Step 3: Remove Shingles in Small Sections
Remove the roofing shingles in smaller sections. The reason for doing this is because it enhances safety and efficiency of the job.
Step 4: Removae Roofing Nails
After removing the roofing shingles, it is necessary to remove all the nails using specialized roofing tools. This will provide a smooth surface for laying underlayment.
Step 5: Handle Flashing Carefully
Check chimney flashings, valley flashings, skylight flashings, and other roof flashings for damage when removing the shingles from the roof. Flashing that is not salvageable is replaced, and reusable parts are removed without bending them.
Step 6: Remove Underlayment Where Required
In some cases, remove aged roofing felts, synthetic underlays, or other waterproofing layers before examining the roof deck for further work.
Step 7: Manage Roofing Debris Throughout the Job
Always keep the roof clean by removing all debris instead of piling it up. Such actions help prevent accidents on-site during each step of the roofing job.
Step 8: Complete Final Surface Cleaning
After removing the shingles from the roof, pick loose nails, sweep the surface, and get ready for roof deck inspection.
How to Prepare Site Before Roof Shingle Removal
Good preparation before shingles removal makes the process safer, saves nearby properties from damage and ensures more efficient work of the roofing crew.
Creating the Work Area
Professional roofers create a restricted work zone on a property before starting a job. This is done with the help of warning signs, barriers and control over access to certain zones on the site.
Protecting Landscaping and Properties
Plants, windows, HVAC systems, decks, and external walls should be protected with plywood boards and tarps to minimize the damage from falling asphalt shingles, roofing nails and other debris.
Setting Up Dumpsters for Debris
It’s necessary to minimize the number of handling operations when moving the roofing debris. Correct location of dumpsters ensures efficiency of the whole operation.
Weather Forecasting
Professional roofers monitor weather conditions before scheduling shingles removals. Heavy rain, strong winds, extreme heat or storms can put people at risk and cause damage to roof deck.
Staging of Material
It is essential to have new roof shingles, synthetic underlayment, ice and water barrier, flashing, and fasteners delivered before the removal of the old roofing material.
Communication of the Crew
Each crew that will be working on the roof needs to know the work to be done, what to do in emergencies, how to handle debris, and the safety requirements.
How to Inspect Roof Deck After Shingle Removal
Inspection for Rot
Softness in plywood, discoloration, presence of fungi, and deterioration of the roof deck are signs of moisture infiltration. Damaged roof decking needs repair or replacement before proceeding with the roofing process.
Inspection for Moisture Damage
Water stains, swollen sheathing, mold formation, and moisture trapped below roof materials are signs of reduced structure performance. Professional inspections will find any damages that could affect installation of new roofing materials.
Inspection for Loose Sheathing
Roof sheathing needs to be securely fastened to the frame members. Loose roof sheathing can cause movement of the materials underneath the shingles, which can affect the performance of the fasteners.
Structural Repairs Prior to Reroofing
If problems such as weak rafters, damaged decking, and framing are found, they should be fixed before installing underlayment and shingles. These problems should never be covered up with roofing materials.
How to Responsible Manage Roofing Waste
Sorting Roofing Wastes
Professional roofing companies sort wastes such as asphalt shingles, metal flashing, lumber, cardboard boxes, and recyclable materials at the time of clean up.
Recycling Asphalt Shingles
Asphalt shingles removed from roofs can often be recycled in many locations for reuse in road construction. It is important to identify facilities that accept recycled materials prior to starting large commercial roofing projects.
Disposal
Wastes from roof removal projects need to be put into proper disposal receptacles. Disposing roof waste into containers reduces potential hazards and protects neighboring properties.
Cleanup Procedure
Proper clean up procedure involves picking up nail with magnets, cleaning gutters, stripping all protective materials, and performing a site inspection.
How To Properly Use a Roof Shingle Remover and Ripper
Working at the Correct Angle
Always maintain the head of the tool low to push it below the asphalt shingles and then apply steady upward force. It helps the blades to cut into the roofing nails without causing unnecessary damage to the roof sheathing.
Using Leverage for Efficiency
Utilize the length of the tool handle in creating leverage rather than using sheer force. Proper leverage will remove several shingles and nails at once and hence increase the speed of the job.
Minimizing Workers’ Fatigue
Always work from a comfortable position and cover the roof in systematic sections. Efficient roofing tools which are well-balanced and have secure handles prevent workers from fatigue.
Avoid Roof Deck Gouges
Use a gentle technique when lifting the shingles rather than pulling them harshly. The roof deck made of plywood or OSB can be easily protected against gouging by using a smooth lift motion technique.
Increase Efficiency When Working On a Big Project
Roofers work efficiently through their techniques that include the use of the appropriate roofing tools, debris disposal, and an orderly manner of removing the old shingles.
Common Obstacles Experienced by Roofers
Sticky Roofing Nails
Roofing nails that are old could be rusty or firmly stuck within the roof deck. Specialized equipment used in this case includes roofing pry bars and nail lifting shingle removers.
Several Layers of Shingles
Removal of two or more roofing layers causes more debris weight and makes the work difficult. In such cases, proper planning on how to handle the extra debris is needed.
Ice & Water Shield Membranes
Self-adhesive waterproof membranes usually stick well to the roof deck. Removal is done with care in order not to damage the roof deck before new underlayment installation.
Deterioration of Roof Deck
In some cases, moisture damage and rotting will be hidden until after removing the shingles from the roof deck. A thorough inspection is needed to check for damages that require repair before installation of the new roofing system.
Flashing Deterioration
Rusting of the flashing on chimneys and valleys, among other parts of the roof may occur and become difficult to remove. The roofer needs to check thoroughly.
Safety Guidelines Used by Professional Roofers
Prevention of Falls
Fall protection devices, anchorage points, and body harnesses must always be used when performing work on raised or pitched roofing surfaces.
Proper Ladder Usage
Before using ladders, inspect them properly for wear and tear and position them on solid ground.
Working around the Roof Edges
Contractors need to pay special attention while tearing off roofing material around the roof edges to avoid hazards related to this area.
Material Handling
It is important that roofing materials are moved using proper lifting techniques to protect against dropping materials.
Avoiding Heat Stress
During hot summer days, roofing surfaces heat up considerably. Therefore, workers take appropriate breaks to hydrate themselves and manage weather conditions.
Inclement Weather
In addition to the above-mentioned hazards, roofers have to face windy, rainy, lightening conditions and ice on the roofs, which increases the risk of falls and poor footing. Professional contractors do not perform any roof tear-offs when weather is dangerous.
Equipment Check
All roofing tools, ladders, harnesses, ropes, and other necessary equipment must be inspected before starting a new job.
What Are Features of an Excellent Shingle Stripper?
Blade Type
A strong blade that has nail stripping qualities will easily slide under roofing shingles, minimizing energy used and protecting the roof sheath during the stripping process.
Handle Length
An increased handle length increases leverage, minimizes bending, and ensures that roofers can work effectively on extensive roofs without too much strain to their bodies.
Grip Quality
Well-gripped handles provide a good grip for the worker, which is especially important during long periods of roof tear-off. Proper handling prevents any hand fatigue.
Durable
High-quality roofing tools should be strong enough to withstand rigorous use without breaking or cracking throughout the roof stripping process.
Efficient Features
Some efficient features include reinforced design, ergonomic handles, balance, and efficient nail stripping qualities that make roofing teams finish projects faster and more effectively.
Why Contractors Prefer the Zeluga Shingle Remover?
When choosing roofing tools, professional contractors look for ways to increase efficiency and minimize operator fatigue. The Zeluga 28in. D-Grip Handle Shingle Remover and Ripper aims to assist professional contractors in handling tough roof tear-off tasks by using simple and effective features.
The key features are as follows:
- Handle of 28 inches to improve leverage
- D-grip handle design to provide greater control
- Robust design for professional work
- Helps remove shingles and roofing nails with ease
- Can be used in both commercial and residential roofing work
- Increases speed of roof tear off work
- Aids in reducing operator fatigue when removing shingles repetitively
Looking for Professional Roofing Tools? If you own a roofing business, provide supplies to professional contractors, or order equipment for commercial projects, we have professional roofing tools for tough site conditions.
For bulk orders contact us at Zeluga.
- Mail: contact@zeluga.com
- Phone: 888 252 4252
Key Takeaways
- The process of removing roof shingles is initiated by thorough inspection and planning of the job.
- Specialized roofing tools increase efficiency and lower fatigue.
- It is critical to have roof deck inspection prior to roofing material installation.
- It is necessary to have proper PPE and fall protection for all roof tear-offs.
- Debris management will facilitate jobsite safety and efficiency.
- Roof flashing, underlayment, and roof decking must be assessed after shingle removal.
- Weather conditions are very important in the planning of roofing projects.
- Tools designed for specific purposes such as Zeluga 28in. D-Grip Handle Shingle Remover & Ripper aid contractors in efficient completion of roof tear-off jobs.
Read More:
7 Best Roofing Tools That Boost Productivity
Best Professional Roofing Tools Manufacturing Company – Zeluga Bulk Supplier
Best Manufacturer of Roofing Tools in Dallas for Professional Work
FAQs
What is the most effective roof shingles remover tool?
There is a special tool for removal of roof shingles called professional roof shingle remover and ripper.
Can damaged flashing be reused?
Yes, but only when it is structurally sound and free from corrosion and damage according to professionals’ inspection.
Must underlayment be always removed?
No, depending on the condition of the underlayment, roofing system design and project requirements.
How long does professional roof shingle removal take?
Depends on the roof dimensions, roof slope, number of layers, weather conditions and number of workers.
How many layers of shingles need to be removed?
Professional contractors rely on local building code requirements and roofing system inspection.
How can professionals prevent damage to the roof deck?
With proper removal methods, special tools, controlled leverage during roof tear-off process.
Which safety equipment is required for roof tear-off?
Fall protection, helmets, gloves, safety glasses, roofing boots and high-visibility clothes.
How can old asphalt shingles be disposed?
They can be properly recycled or disposed of construction waste disposal facilities.